Building a cute CO2 gauge
A good smart home is one where I don’t have to fiddle around with my phone all the time. This philosophy has manifested as several physical switches spread across the apartment, controlling most essential functions. But especially in the winter when all windows stay shut, I found myself monitoring the room’s CO2 levels quite frequently. The quest to free myself from this unnecessary phone checking resulted in the following specimen:

The Hardware
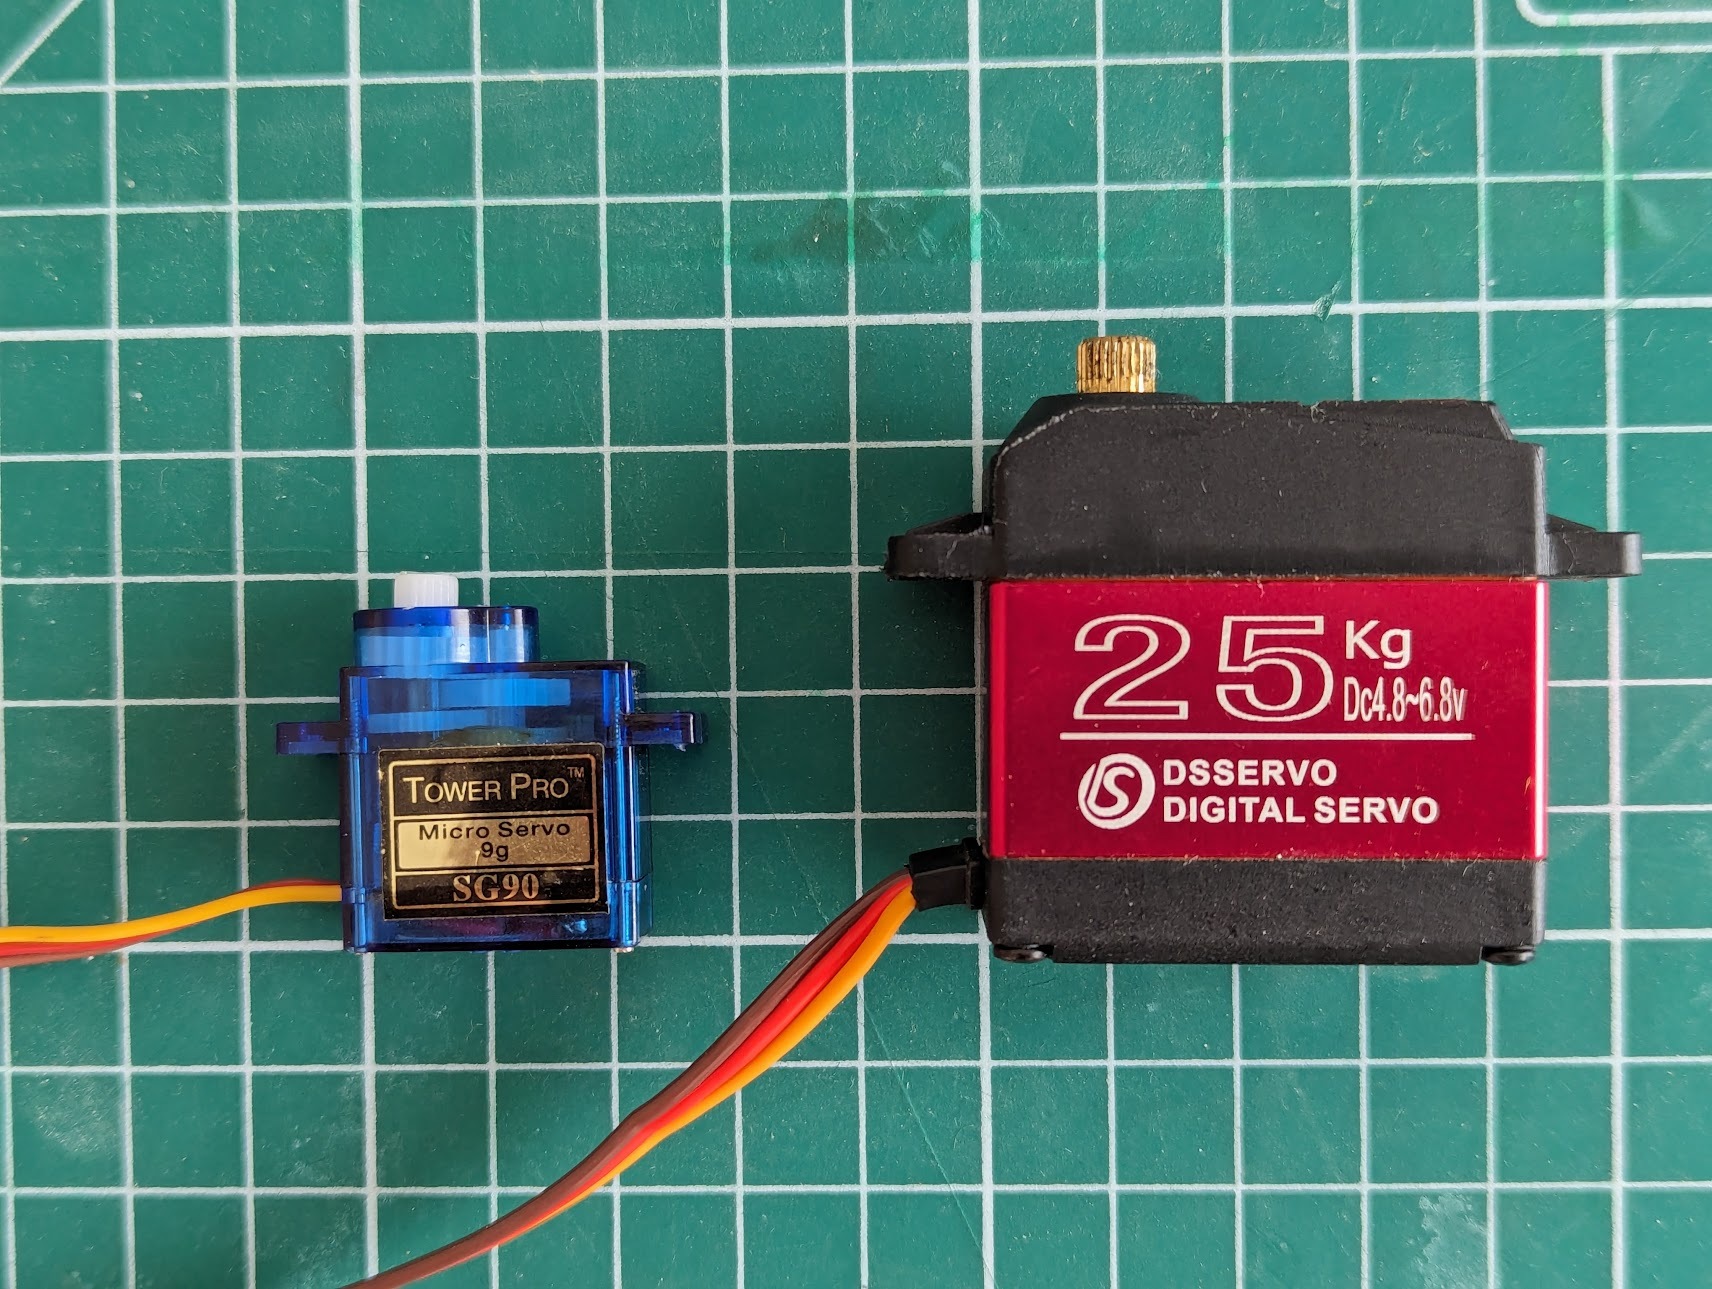
The core of the setup consists of a DS3225 servo powered by a Wemos S2 mini. Both components were chosen by the very scientific process of already being in my drawer.
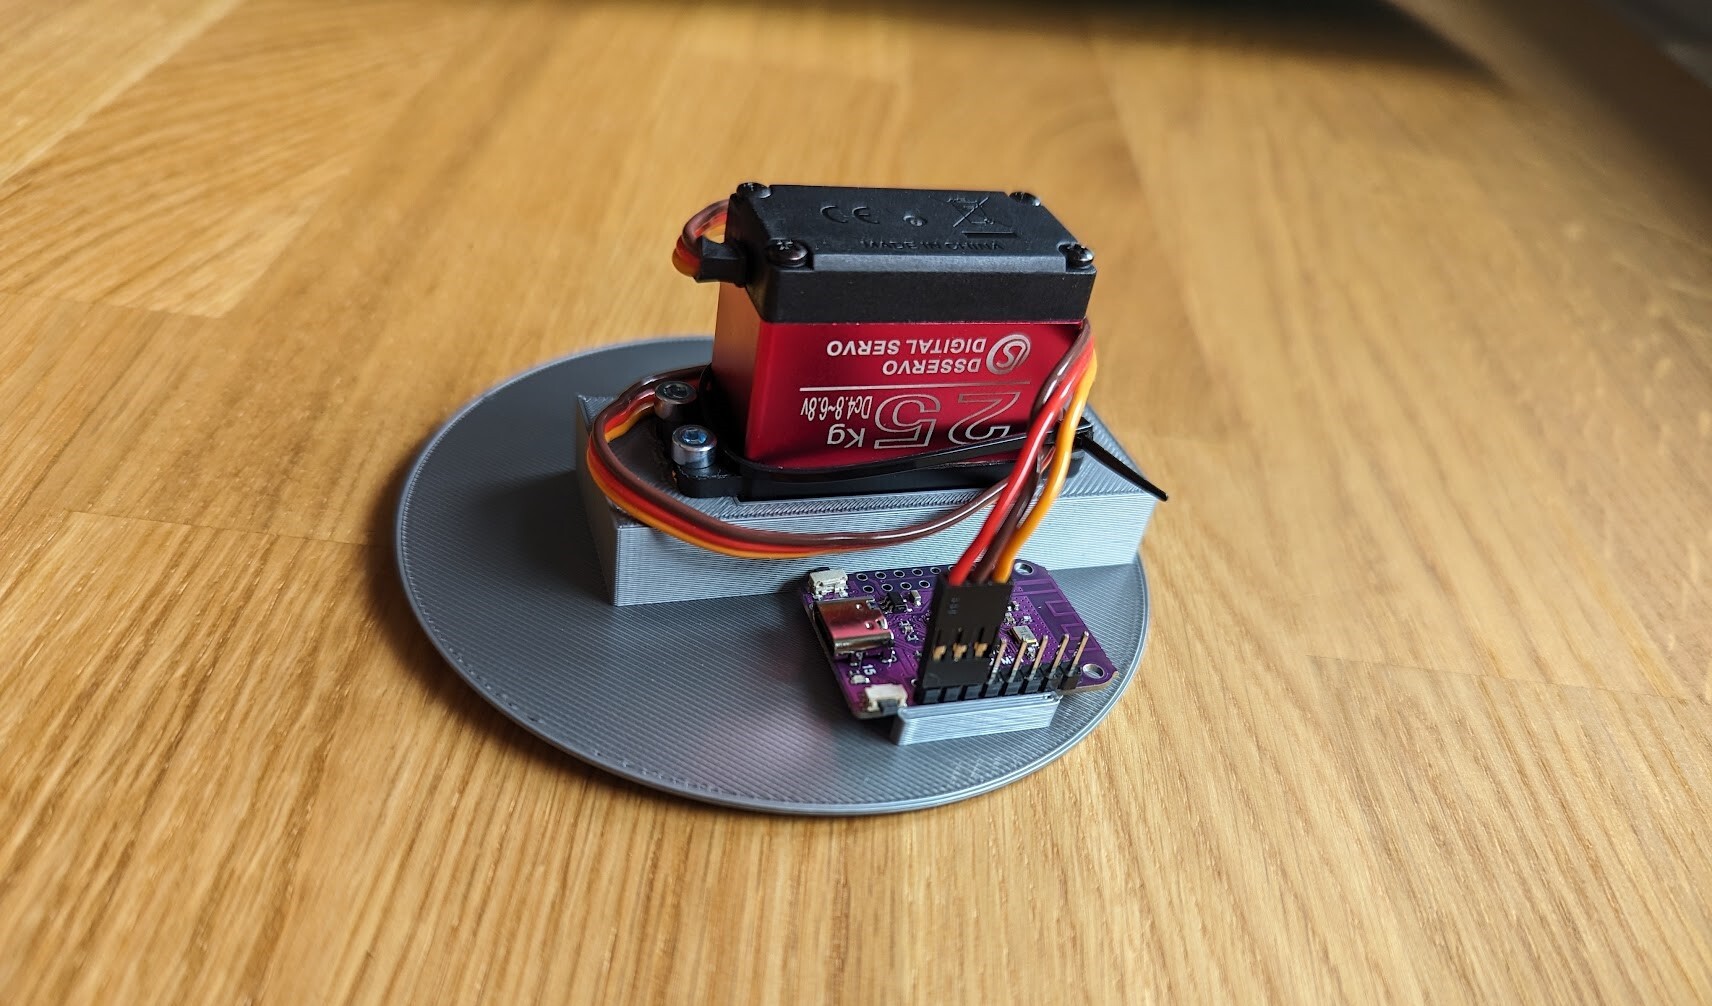
The 25 kg servo is admittedly a bit oversized for turning a tiny plastic pointer. But it is also much quieter than one of these ultra-cheap AliExpress alternatives, which is a plus when hanging in the living room.
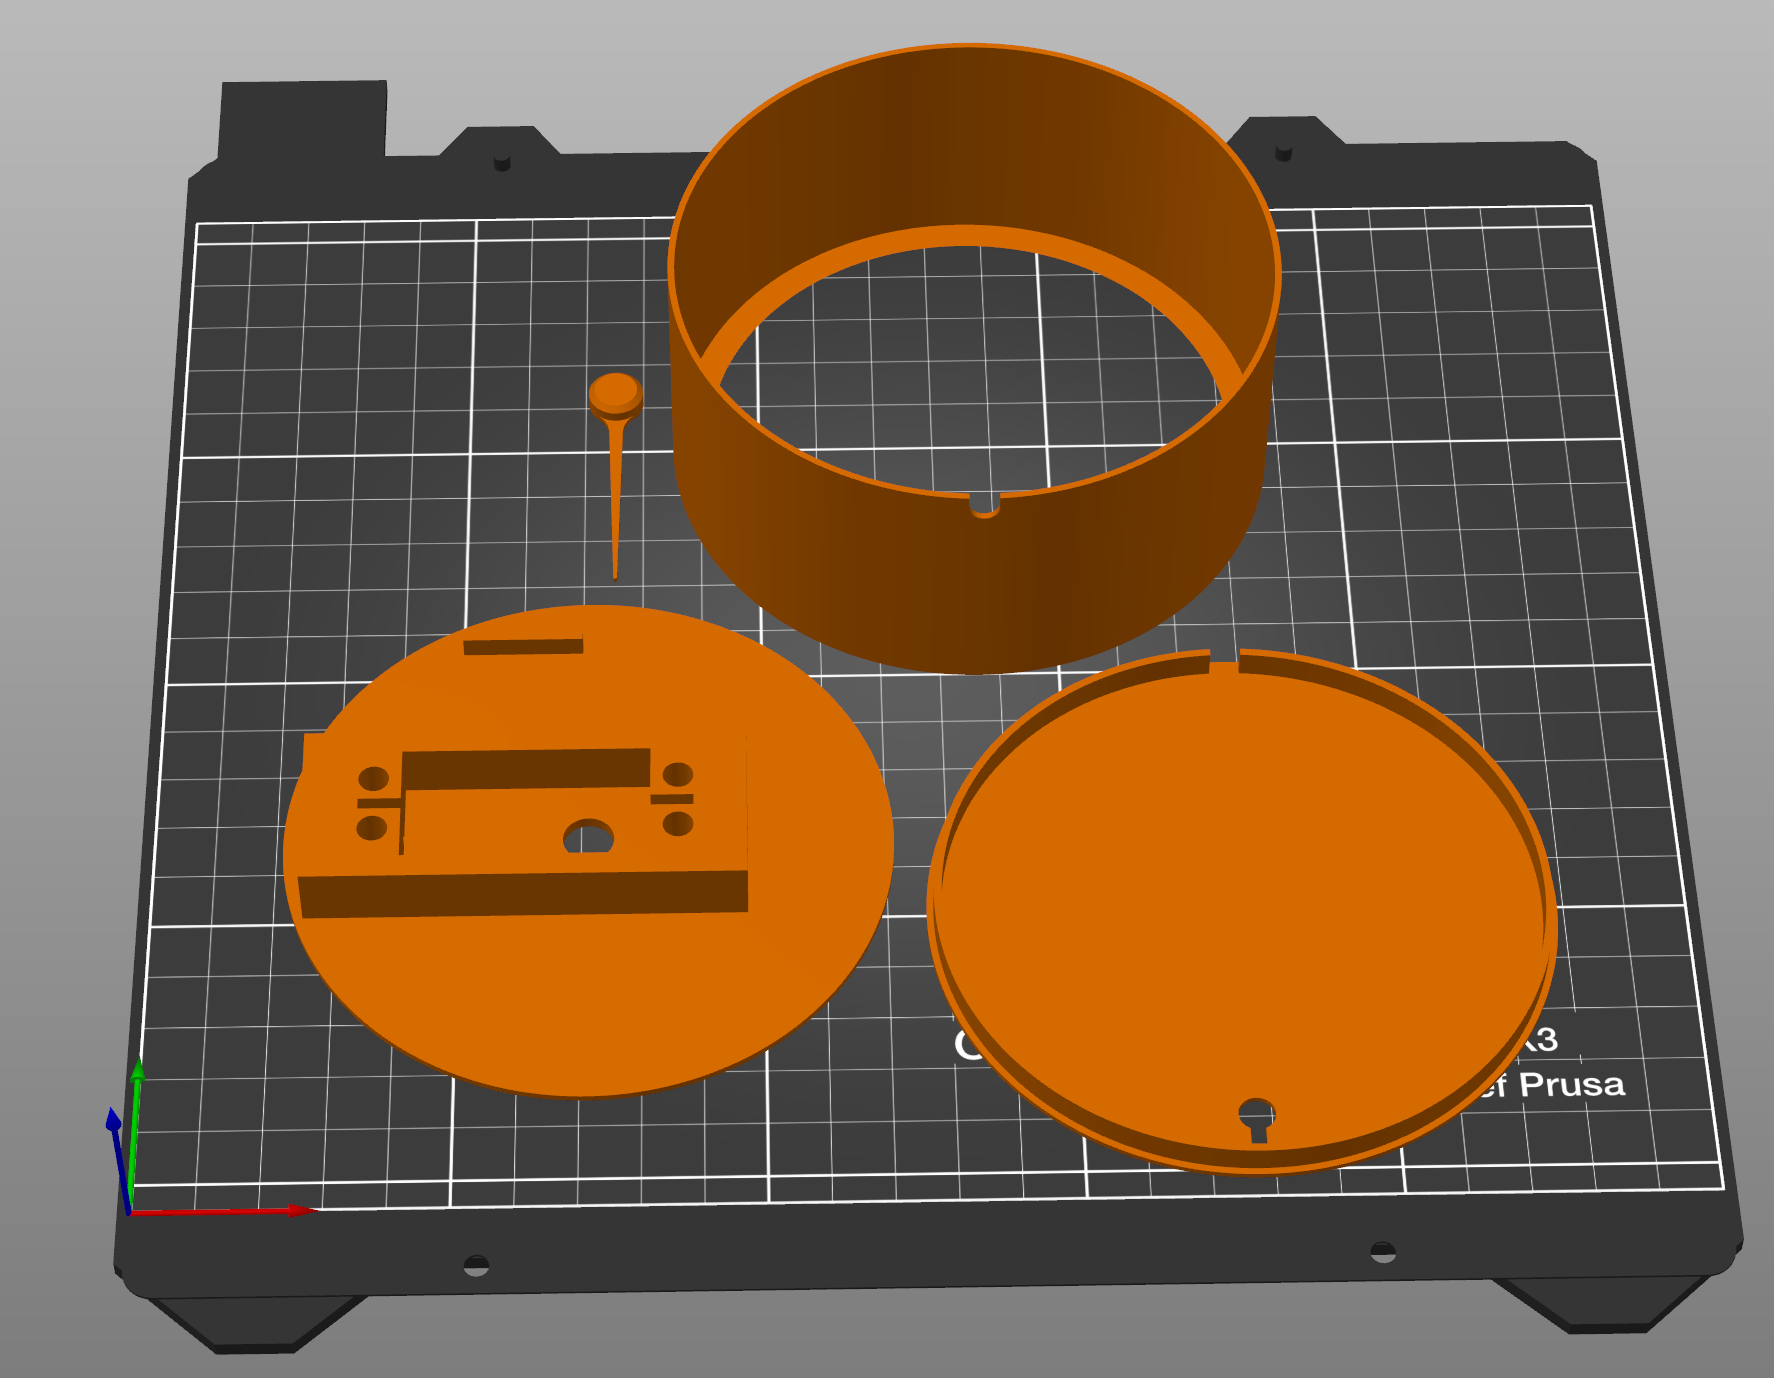
Everything is held together with either press-fits or threaded inserts, while a print-out of the gouge is sandwiched between the ‘face’ and outer casing. Crafting the artistic design was probably the toughest challenge of this project, especially for a total Inkscape noob like myself.


To be able to directly plug the servo into the board, I had to swap the servo’s power and ground connections inside the dupont connector. So if you choose to recreate this design, make sure to double-check your connections to avoid any accidents.
The Software
Setup
Using ESPHome made it super easy to integrate this piece of hardware into my Home Assistant instance. But unfortunately, their convenient web programmer doesn’t yet support the ESP32-S2 I’m using. After some digging, I found the following workaround to get everything up and running:
- Install the ESPHome Dashboard following one of the ESPHome getting started guides
- Click on ‘New Device’
- Choose a name for the board
- Select ESP32-S2 then cancel
- In the newly created config file, tweak the top to match the following:
esp32:
  board: lolin_s2_mini
  variant: ESP32S2
  framework:
    type: arduino
    version: 2.0.3
platform_version: 5.0.0- Click Install -> Manual Download -> Modern Format
- Flash the resulting file with the Adafruit ESPTool
At this point, the board can be wirelessly updated like any other ESPHome device. There are probably other ways of doing this, like flashing directly with esptool, but this was the most convenient for me.
Board config
As you might have guessed, this device doesn’t come with its own CO2 sensor onboard. Instead, the values are relayed from another ESP32-based sensor through Home Assistant. But it would, of course, also be possible to integrate such a sensor into the same device. Just make sure to include some extra holes in the case. The servo is configured like this:
servo:
  - id: pointer
    output: pwm_output
    transition_length: 10s # make pointer nove slowly to reduce noise
    auto_detach_time: 3s
    min_level: 2.8% # calibrate to move in a 180° arc
    max_level: 12.7% # calibrate to move in a 180° arc

output:
  - platform: ledc
    id: pwm_output
    pin: GPIO16 # conveniently located next to 5V/GND
    frequency: 50Hz

number:
  - platform: template
    name: Servo Control
    min_value: 0
    initial_value: 50
    max_value: 100
    step: 0.1
    optimistic: true
    set_action:
      then:
        - servo.write:
            id: pointer
            level: !lambda 'return (x*2-100) / -100.0;' # map value to servo position
You might have to tinker with the min_level, max_level, or value mapping in order to get the pointer to line up perfectly with the printout.
Home Assistant config
All Home Assistant has to do is monitor changes in CO2 concentration and map/transmit the updated values to the gauge. The corresponding automation could look like this:
alias: CO2 gauge control
description: ""
trigger:
  - platform: state
    entity_id:
      - sensor.living_room_co2
condition: []
action:
  - service: number.set_value
    data:
      value: ""
    target:
      entity_id: number.co2_gauge_servo_control
mode: single
At this point, everything should be up and running smoothly, with the pointer responding promptly to new readings from the CO2 sensor.
Conclusion

This was a fun little project, and I like looking at the little guy nudging me to open the windows more often.
The design can also easily be tweaked to display any kind of sensor value.
If you are interested in building your own, you can find the relevant files on my GitHub.